Importing the membership roster
Goal
Create your school's student memberships in one go from an Excel file, instead of adding them one by one. The system matches each row against students in Skool.Cool, shows you the matching result before you commit, and then creates the memberships (verified or pending, according to your setting).
When do you need this screen?
At the start of a season, or when setting membership up for the first time, when you have an official list of your school's students and their guardians' mobile numbers and want to verify all their memberships at once.
Before you start
- It must be turned on: school membership must be enabled for your school. If it is not, a message asks you to enable it from the membership settings first — see Turning on membership and the join code.
- Permission: you need permission to import the membership roster (normally held by the school manager; the coordinator may not have it by default).
- File format:
.xlsxonly, up to 10 MB and 1000 rows. - The auto-verify decision: the Auto-verify roster matches setting decides whether matches are created verified immediately or pending. Set it before importing, from the Branding page.
Where it lives
The school sidebar > Today's work > Imports, then the Membership roster card beneath the import cards.
The roster used to be its own item under Setup. It now lives inside the Imports page, so file uploads are all in one place. Saved links to the old page still work.
The roster creates no new students. It verifies the membership of students already in the system, and becomes a lasting reference that automatically verifies guardians' later claims. To create new student records, use the Students & parents card on the same page — see Importing students and their guardians from an Excel file.
Steps
The import works as a three-step wizard: Upload → Review matches → Done.
1. Prepare the roster's columns
Arrange the student data in these columns (the order does not matter; only the heading names do):
| Column | Code | Required |
|---|---|---|
| Student name | Student name | Required |
| Guardian phone | Guardian phone | Required |
| Birth date | Birth date | Recommended |
| National ID | National ID | Optional |
These fields improve the accuracy of the matching. The rule is that a mobile number alone does not verify a student automatically; having the national ID or the date of birth gives the system a stronger basis for a safe match.
2. Upload the file (the Upload step)
Press Choose the roster file, select an .xlsx file, then press Upload.
If the file contains errors, a message explains it with a Download error file button: download it to find the reason for each problem beside its row, correct the cells it points to, then upload again.
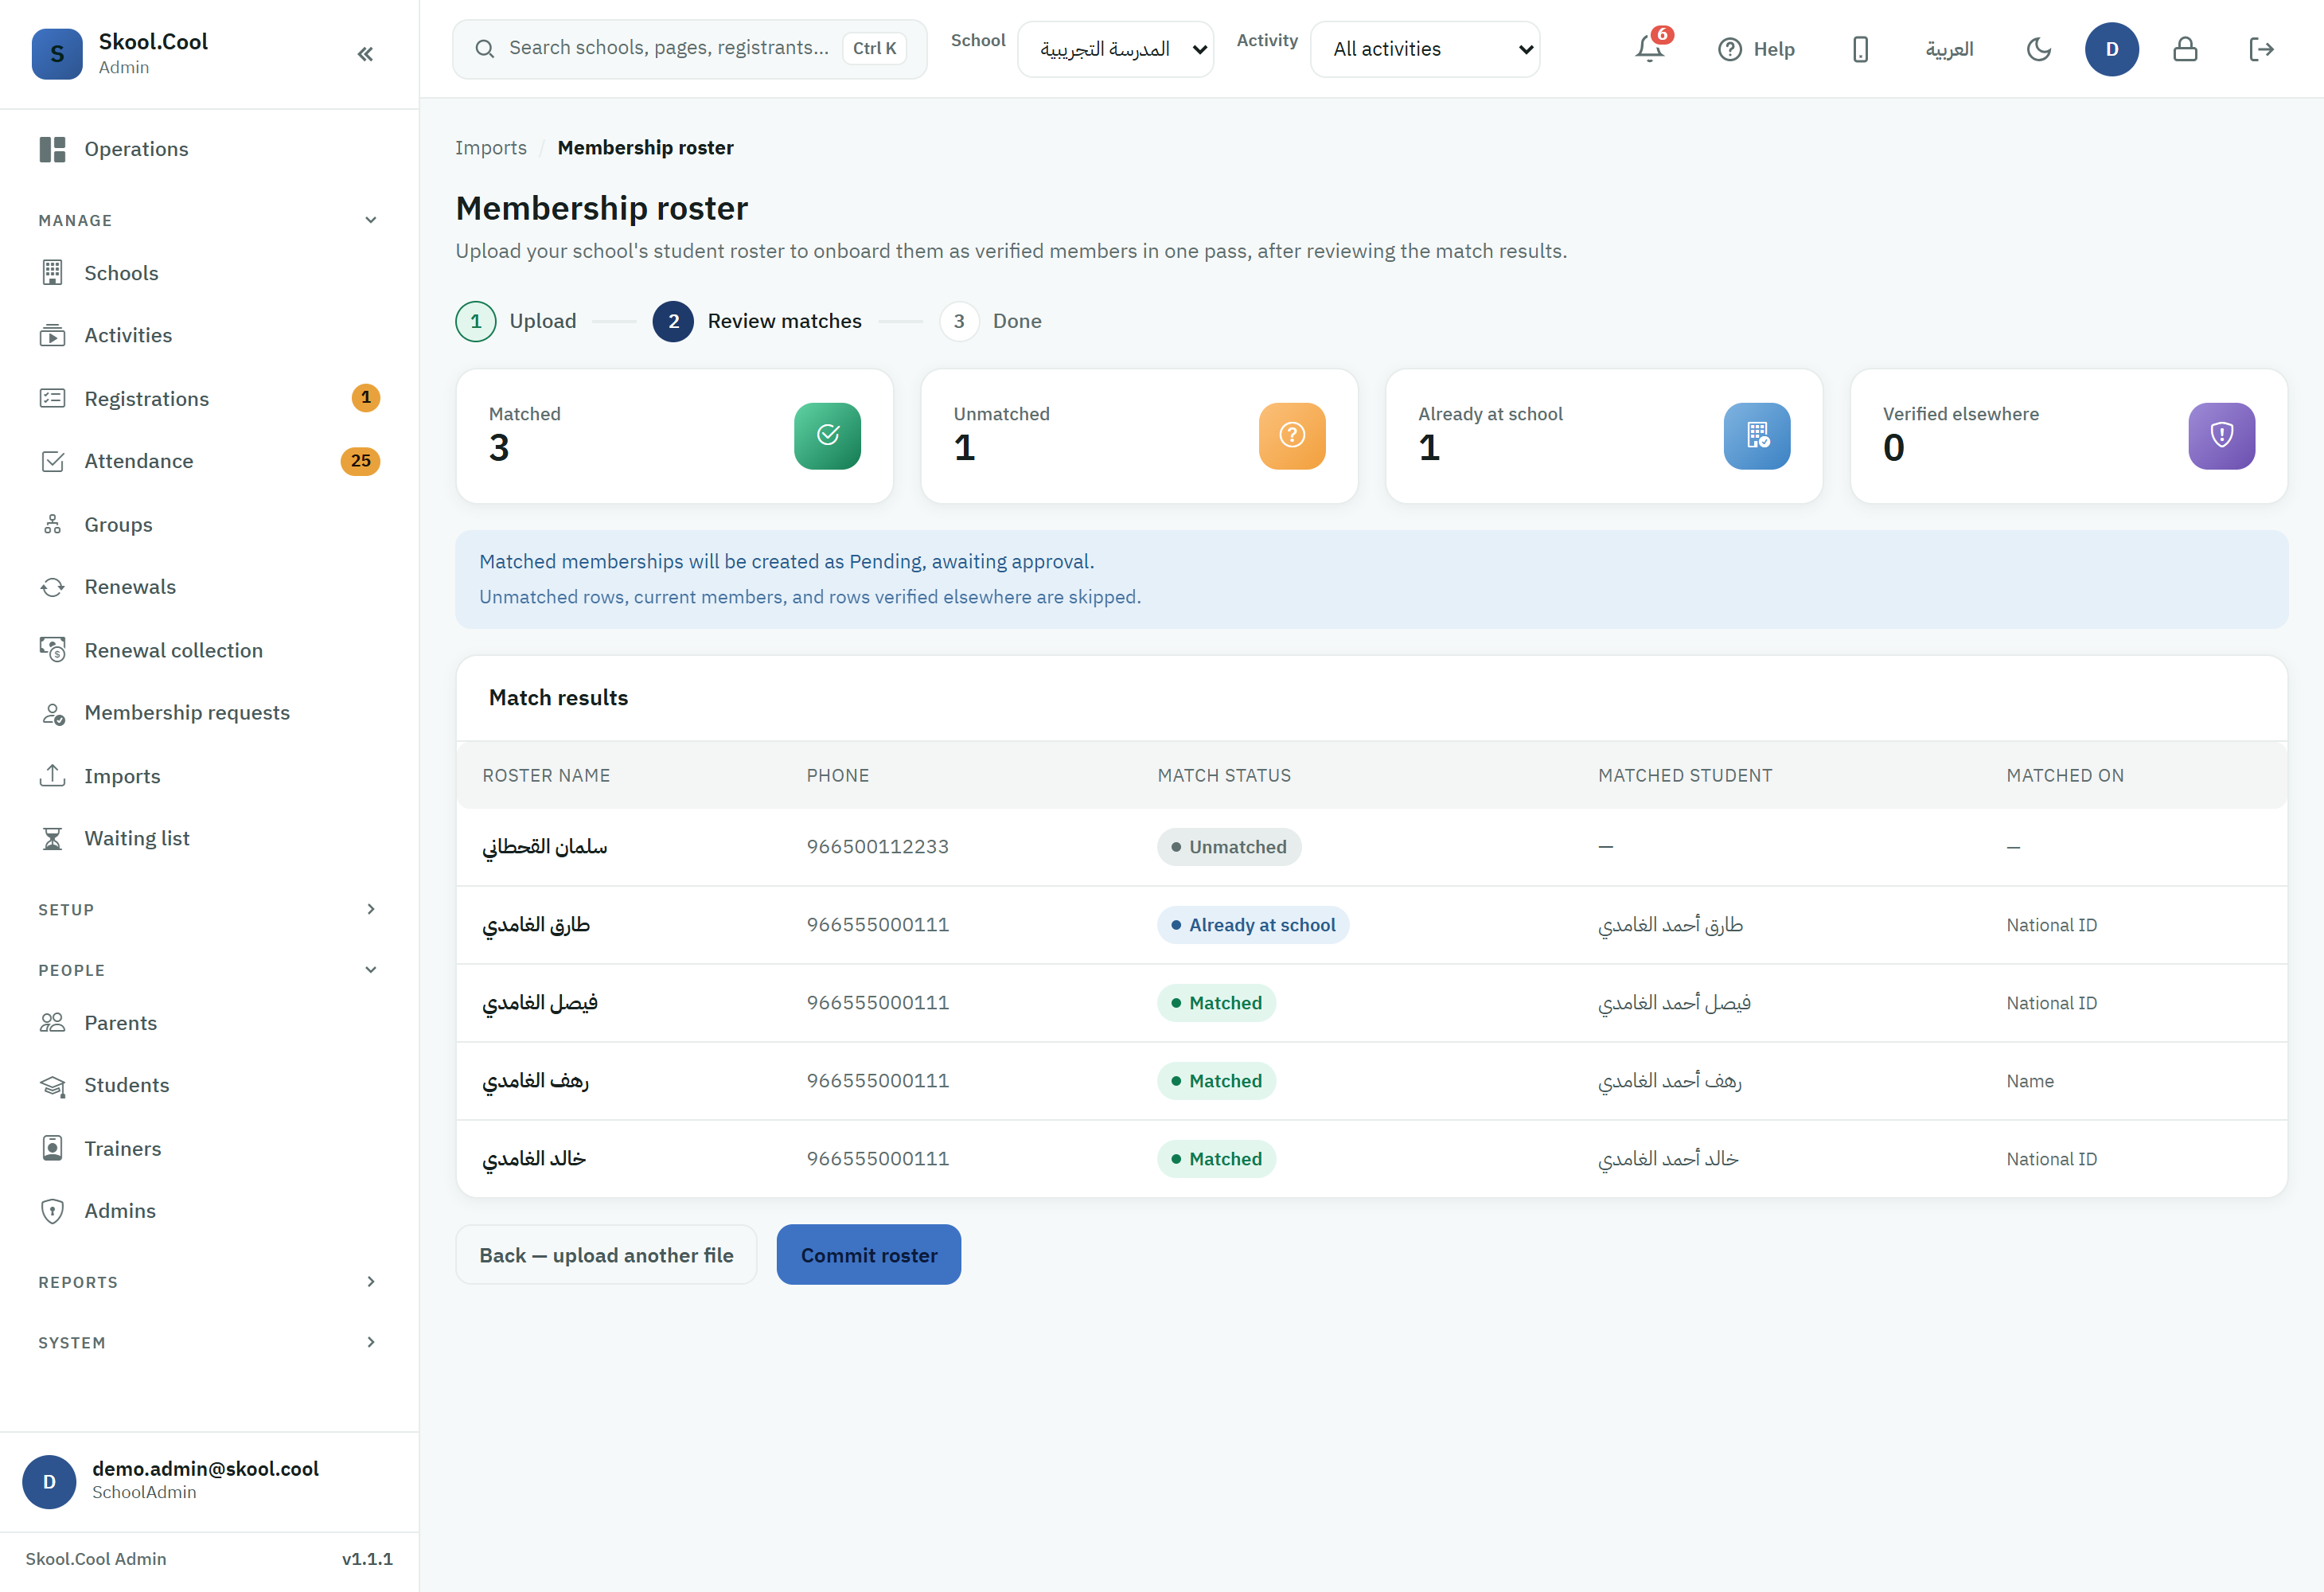
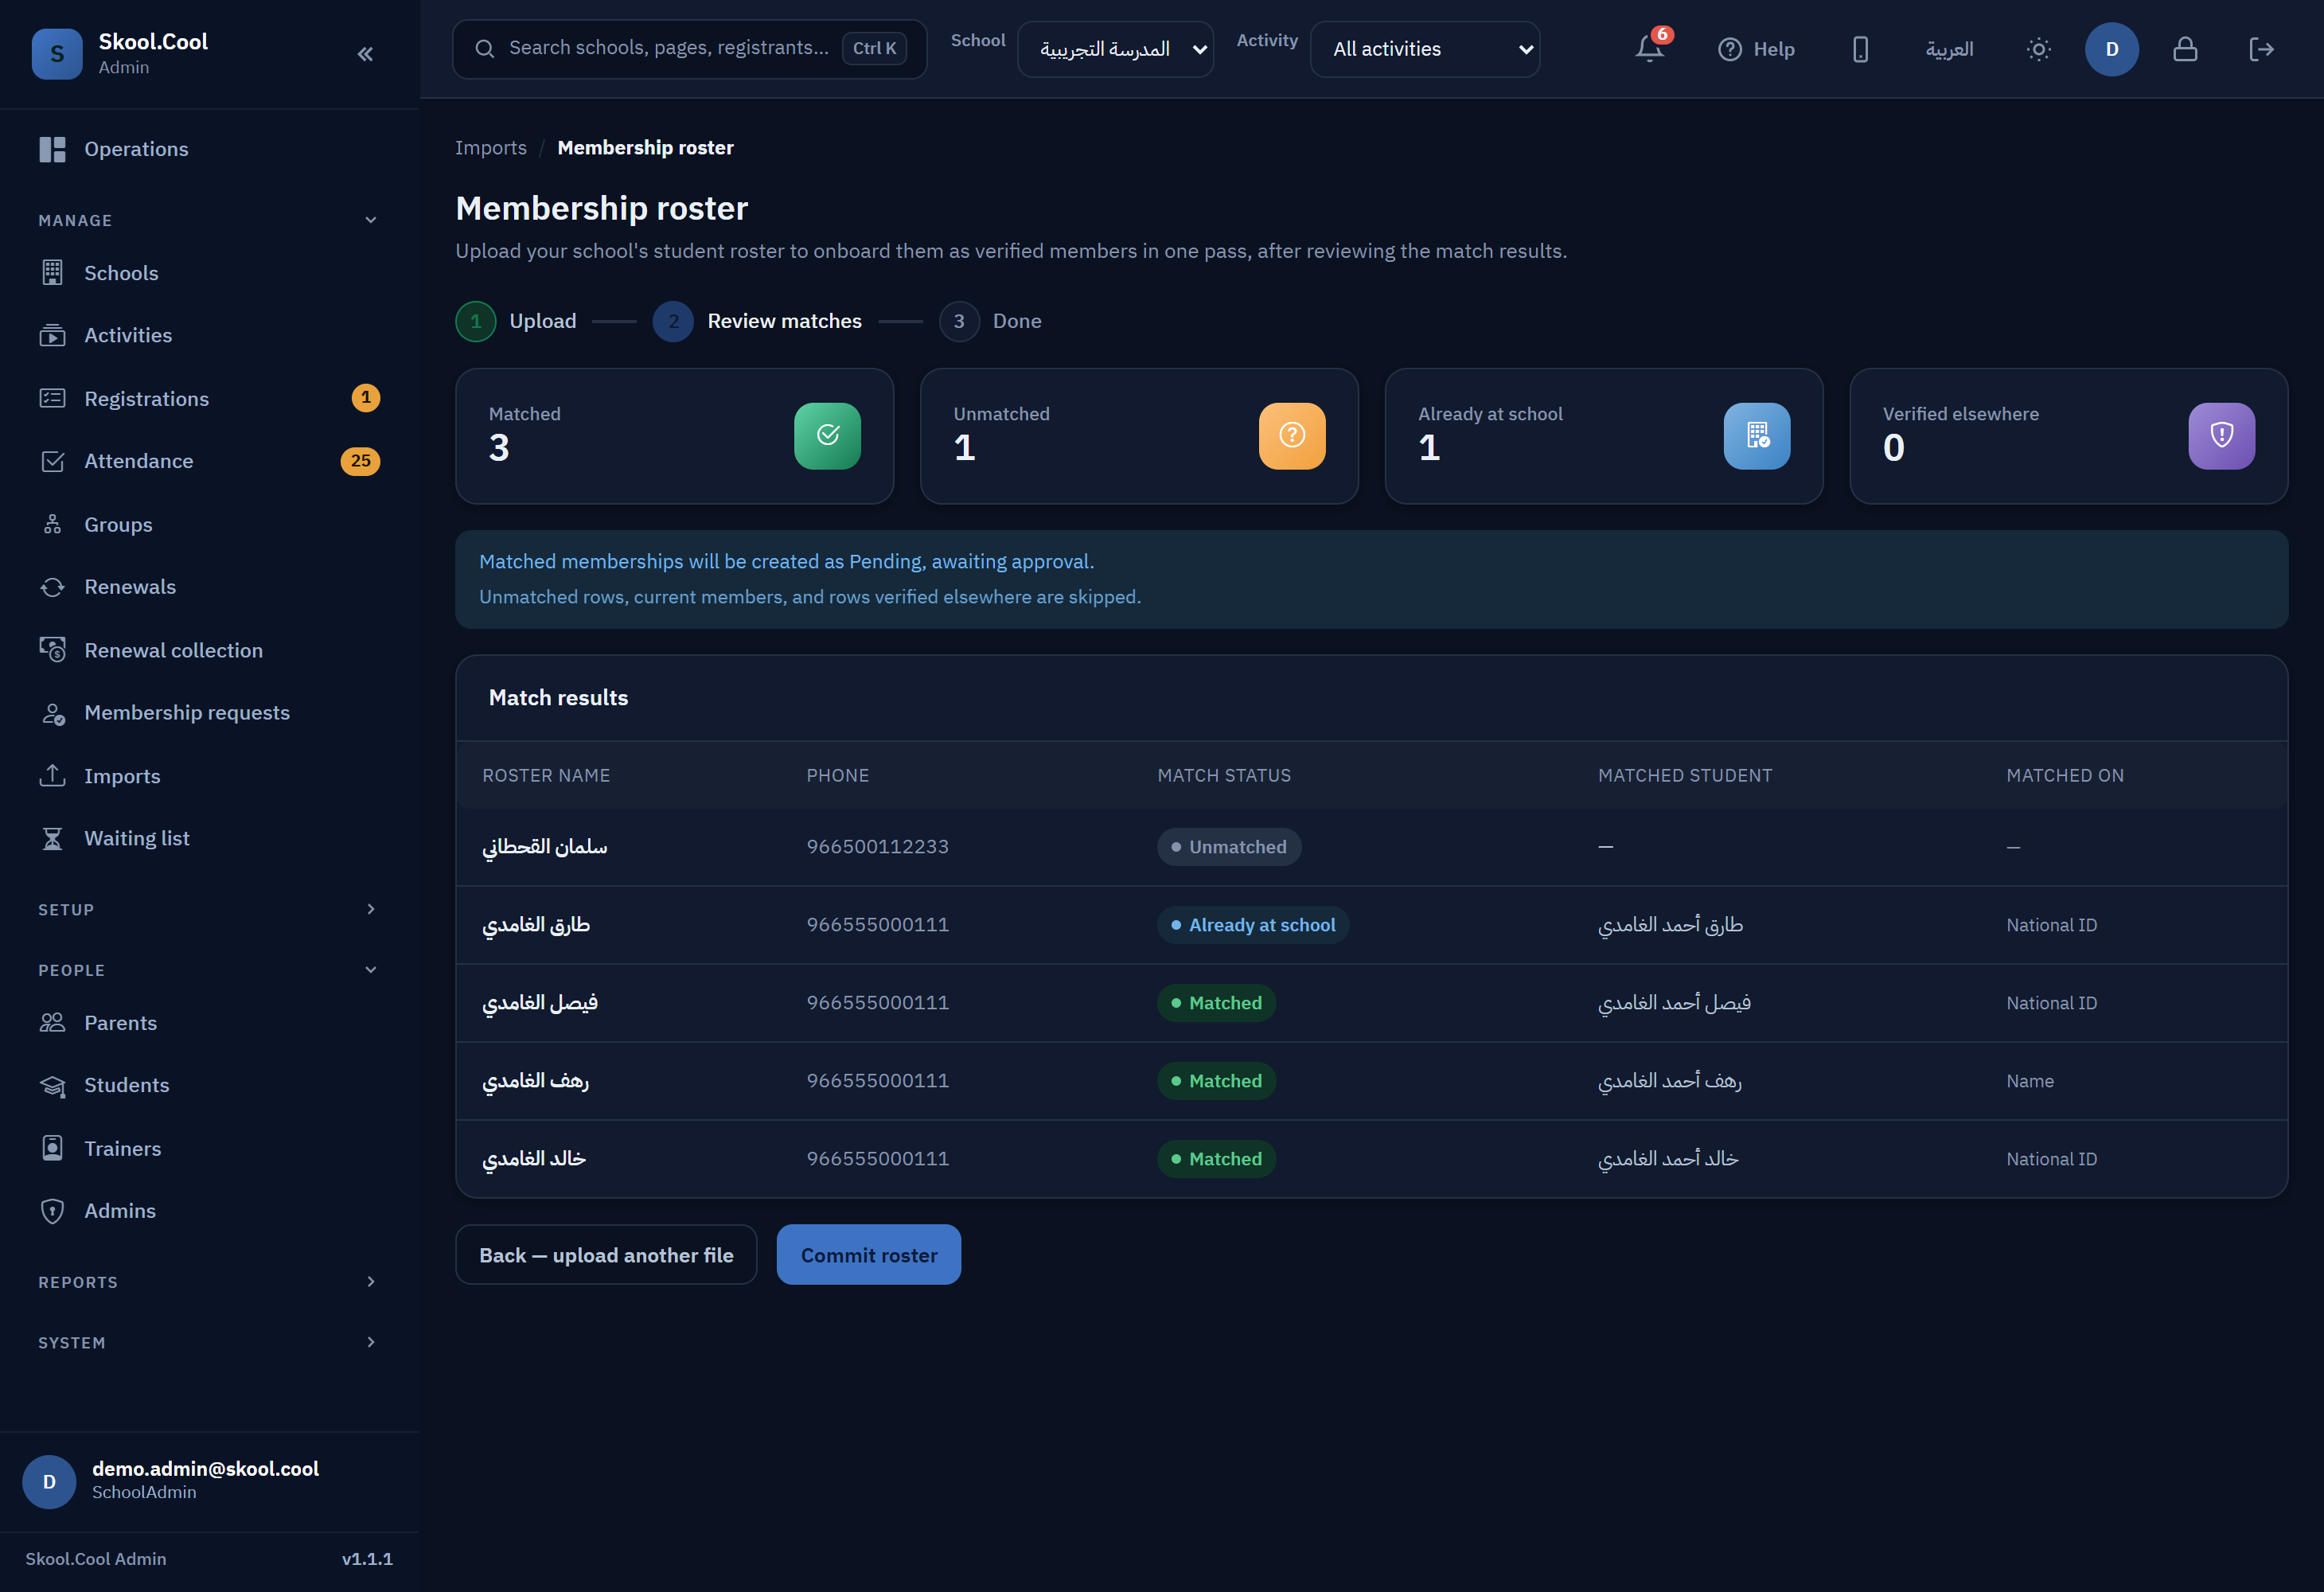
3. Review the matching result (the Review matches step)
The system shows the results in four categories:
| Category | Code | What it means |
|---|---|---|
| Matched | Matched | A matching student in Skool.Cool; a membership will be created for them when you commit. |
| Unmatched | Unmatched | No matching student was found; the row is skipped. |
| Already at school | Already at school | The student is currently a member of your school; skipped. |
| Verified elsewhere | Verified elsewhere | The student has a verified membership at another school; skipped, and their membership is not taken away. |
For each matched row, the table shows Matched on: the national ID, the date of birth, or the name.
- If auto-verify is on: matched memberships will be created verified immediately on commit.
- If it is off: matched memberships will be created as pending, awaiting approval.
In every case, unmatched rows, existing members, and those verified elsewhere are skipped.
If the roster is large, the table may show only the first rows, but the commit applies to all of them.
4. Commit the roster
- Press Commit roster to create the memberships.
- Or Back — upload another file if you want to correct the file.
5. Review the outcome (the Done step)
The final screen shows a summary: how many Verified memberships created, how many Pending memberships created, how many skipped, how many unmatched, and the school year. From there you can:
- Import another roster.
- Go to membership requests, to approve the memberships created as pending.
After this screen
If you created pending memberships, approve them from Reviewing and approving membership requests.