Importing parents in bulk from Excel
Goal
Link students to their parents in one go. No import in the admin app creates parent accounts: a parent creates their own account in the parents app with their mobile number, and the student import then links each student to the account holding the number recorded beside them in the file. This is deliberate: a mistyped number must never create an account on a stranger's phone that would show them the child's data.
When do you need this?
At the start of the school year, or when setting up a new branch, when you have a list of students and their parents' mobile numbers and the school wants to enter them all at once rather than registering each family by hand.
Before you start
- Permission required: permission to use imports, and permission to approve a student import. If the Imports screen does not appear for you, ask your school administrator to grant it (see Access control and roles).
- The guardian needs an account. The Students & parents import links each student to the existing account holding the mobile number in their row; a row whose guardian has no account shows an error and is not saved.
- File format: an Excel
.xlsxfile or a.csvfile. - Limits: up to 5,000 rows and a maximum of 20 MB per file.
Where it lives
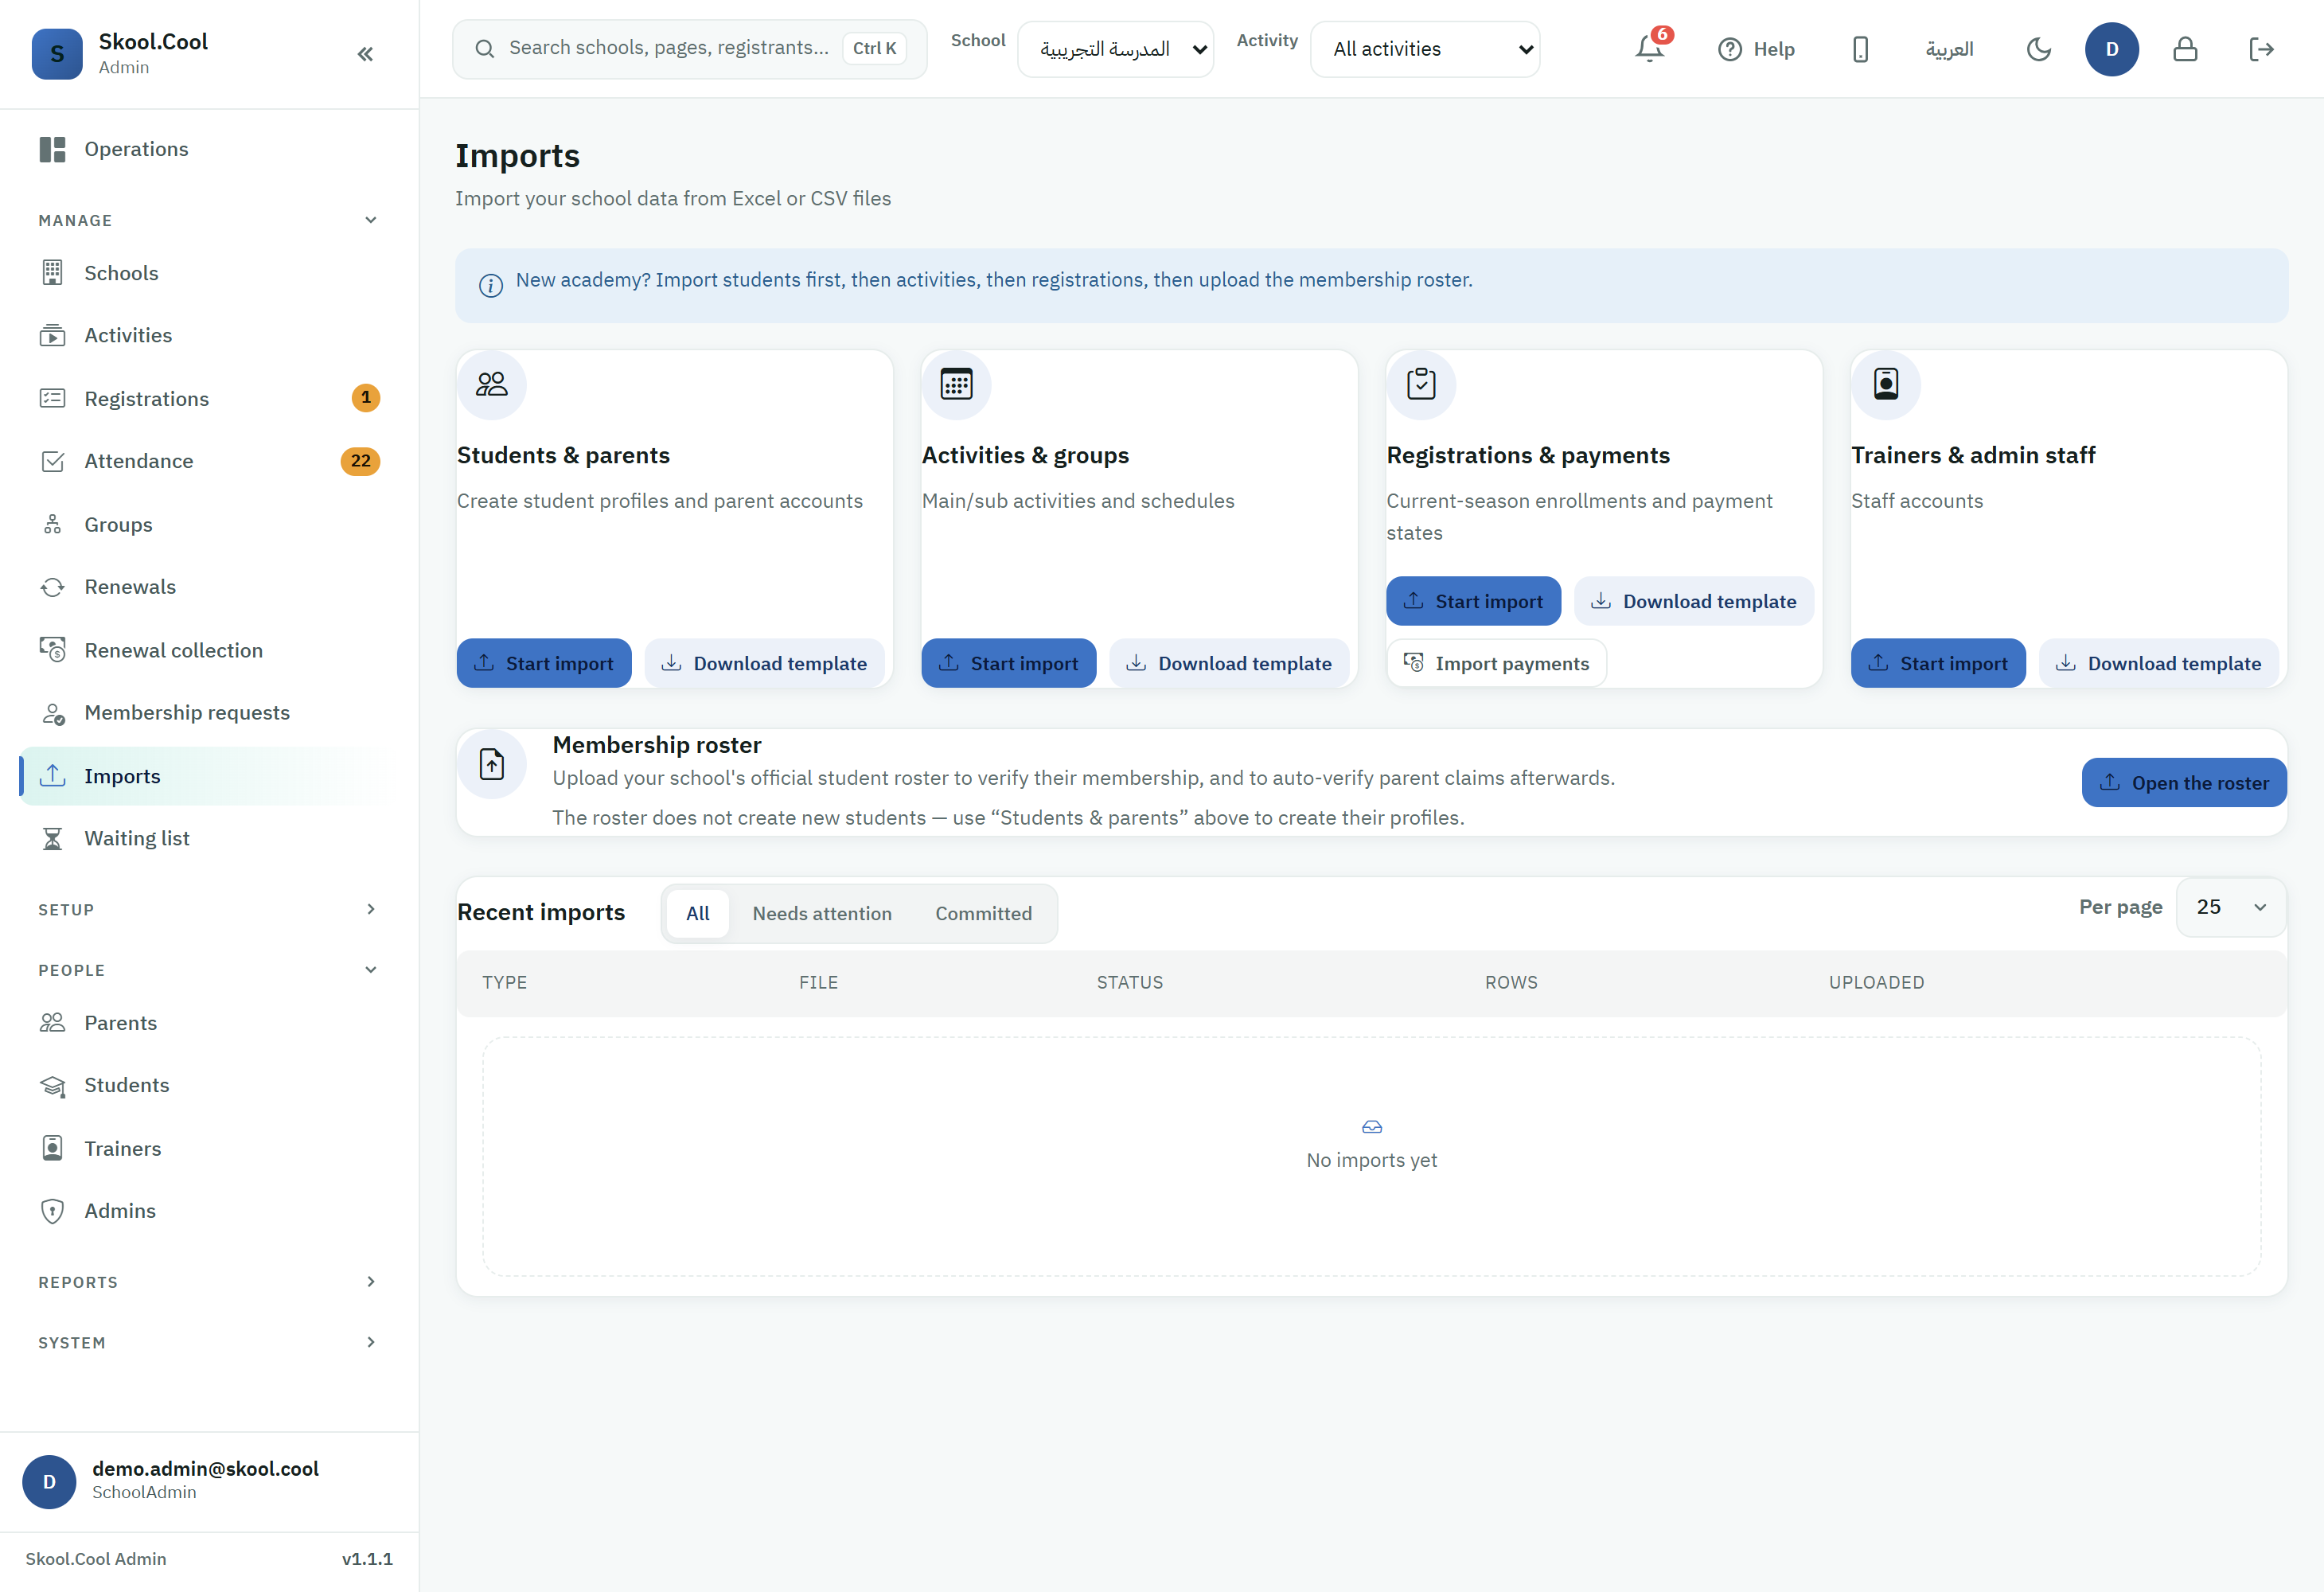
Sidebar → Imports → the Students & parents card → Start import.
How does a parent create their account?
The parent signs up in the parents app with their mobile number and a verification code sent to it. While importing students, the system reads the guardian's mobile number from each row:
- If that mobile number has no account yet, the row shows the error "No parent with phone ... exists"; ask the parent to sign up, then import their row again.
- If the mobile number is registered, the student is linked to the existing account and no new account is created.
Parents receive no message or notification on import. Make sure the mobile numbers are correct - they are what links a student to their parent's account.
The steps in brief
The process runs through a six-step wizard shown at the top of the screen: File → Map columns → Validation → Preview → Import → Results.
- Download the template: on the Students & parents card press Download template for a file laid out with the right columns.
- Fill in the data: enter each student's details along with their guardian's mobile number and name. For the required and recommended columns, see Reference: Excel file columns.
- Upload the file: press Start import, choose the file with Choose file, and press Upload & continue.
- Map the columns: the system proposes an automatic mapping of your file's columns to the platform's fields; review it and complete the mandatory ones.
- Check the rows: the counts of valid rows, warnings and errors appear. If there are errors, press Download error file to correct the rows, then Replace file and upload again.
- Preview and run: the Preview step shows how many records will be created or updated, with a warning that parents will receive no notification. Confirm, then press Start import to run it.
The complete steps for the student file and linking them to their guardians are documented on Importing student data.
What you should end up with
After it runs, a Results page shows how many rows were imported, skipped and failed, and the students appear linked to their parents' accounts. And if you need to reverse the whole operation, the system offers Undo import from the operation's page; an undo never deletes or locks a parent's account.
Frequently asked questions
Why did the separate "Parents" tab disappear?
No import in the admin app creates parent accounts; a parent creates their own account in the parents app, and the Students & parents import then links students to those accounts. For the full steps, see Importing student data.
How do I download the right template to fill in?
From the Imports screen press Download template inside the Students & parents card; a file laid out with the required columns downloads. Each column is explained in Reference: Excel file columns.
Why did the parent not get a message or a password after the import?
That is the intended behaviour: no notifications are sent on import, and the import creates no accounts. The parent signs in to their own account from the parents app with the registered number.
What do I do if the file has errors?
On the Validation step press Download error file, correct the rows it lists, then press Replace file and upload again. No data is saved before validation passes and the operation is approved.
Some parents' mobile numbers already exist — will the account be duplicated?
No. If the mobile number is registered, the student is linked to the existing account; if it is not, the row shows an error until the parent signs up. For who is allowed to run an import, see Access control and roles.